Affiliate Disclosure: Some links in this article may earn us a small commission if you make a purchase, at no additional cost to you.
Why Your Gaming PC is Bottlenecking Your RAM Out of the Box
Simply put, manufacturers need to guarantee that a system will boot on the first try no matter what, so they configure the memory kit to run at a safe, stable default baseline. This acts like a "safe mode" for your memory. That way, when you turn on EXPO, XMP, or even do a manual overclock to your RAM, there is always a safe default speed for the system to revert to if things become unstable or if your PC won't power on, which you can easily trigger by resetting your CMOS battery.
How to Turn on EXPO and XMP?
There are two very quick ways to enable EXPO and XMP: the fastest and simplest way possible to just get it enabled, and a slightly more in-depth path to choose a specific profile. We cover both methods below, and both should take you two minutes or less.
Method 1: Enable EXPO and XMP as Fast as Possible
Step 1: Boot or Restart Into Your PC BIOS
Turn on your computer or restart it. As your system is turning on, spam your enter BIOS key—usually your Delete and F2 keys. It also shows the correct key when launching on the logo splash screen, though it could be different depending on your board.

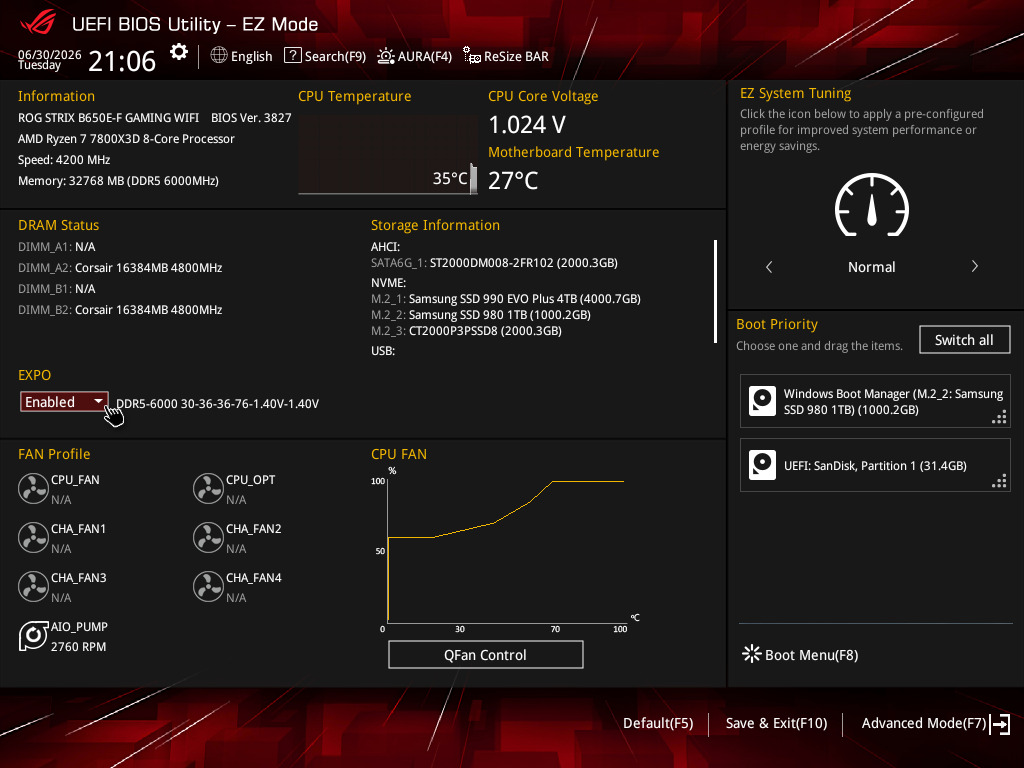
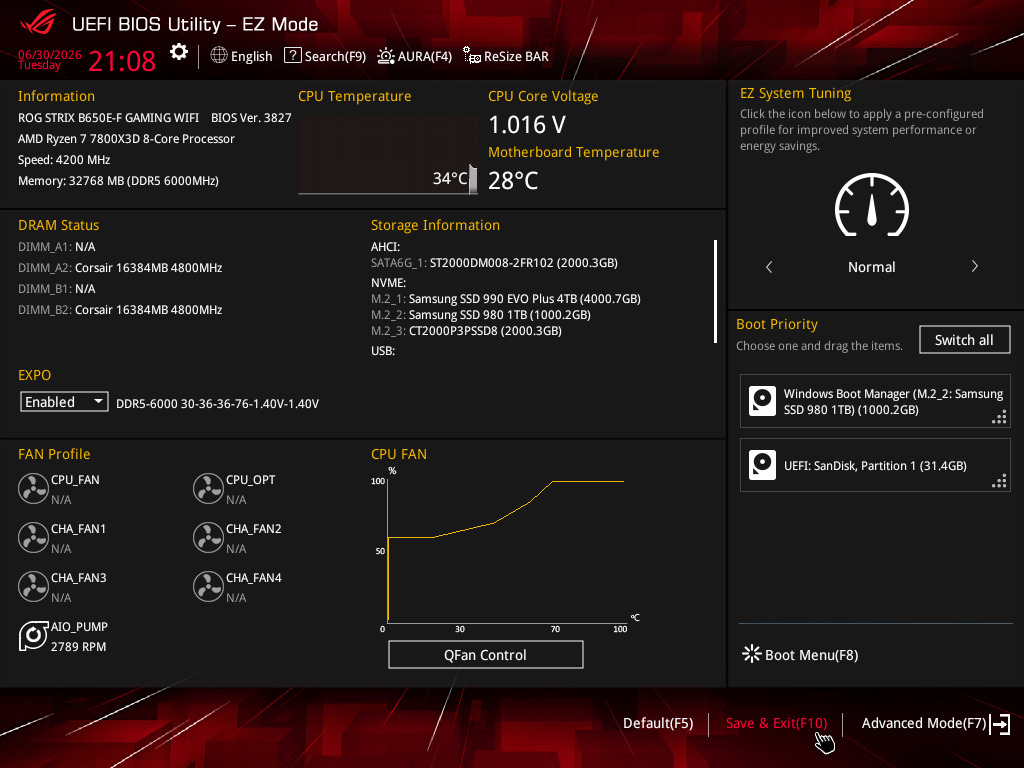
Step 2: Toggle EXPO or XMP in BIOS EZ Mode
Now on the BIOS EZ Mode page, there is likely an EXPO, DOCP, or XMP drop-down box. Simply click it open and click Enable, or select Profile 1 if it gives you profile options.
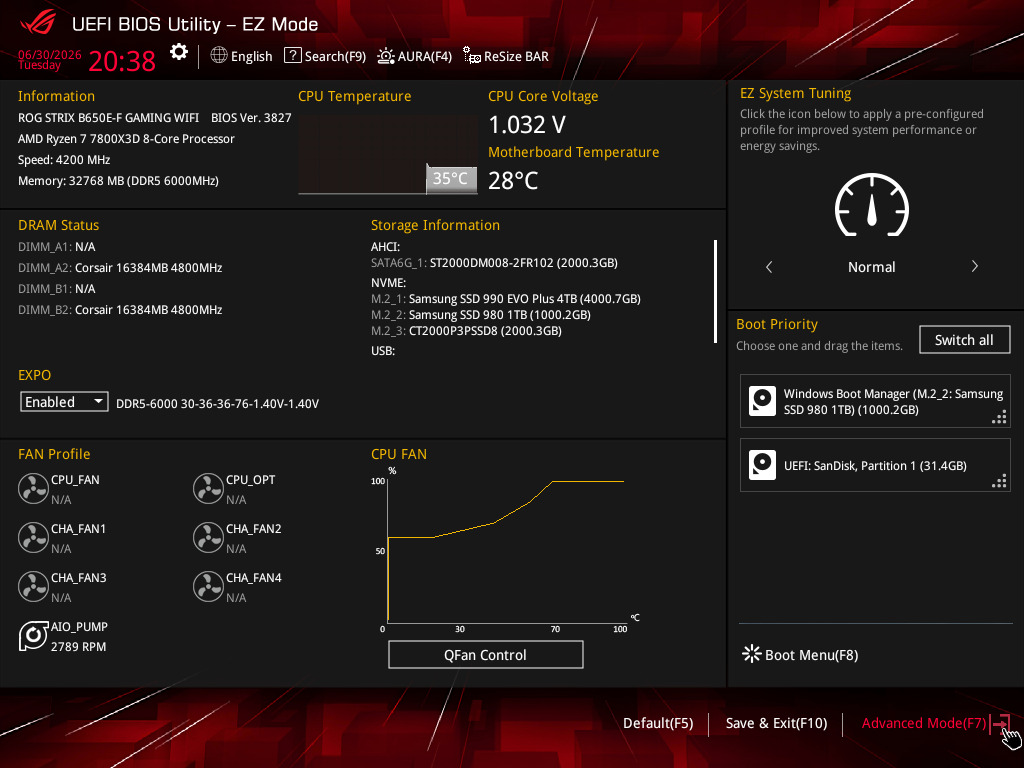
Step 3: Save and Exit to Apply Max RAM Speeds
Now, save your newly changed BIOS EXPO or XMP settings by clicking Save & Exit (usually located on the bottom right or mapped to F10). Your PC will reboot, and your RAM speeds should now be running at max performance.
Method 2: The Advanced Method to Enabling EXPO and XMP
Step 1: Switch to BIOS Advanced Mode
Click the Advanced Mode button in the bottom right of the BIOS EZ Mode page (or press F7 on your keyboard).
Step 2: Navigate to Your Motherboard Overclocking Tweaker Page
Go to your motherboard's tweaker page, often called Ai Tweaker, Extreme Tweaker, or OC Tweaker. If you don't see it, you might need to go through the Advanced tab or search for EXPO or XMP using the search feature found at the top of the screen.
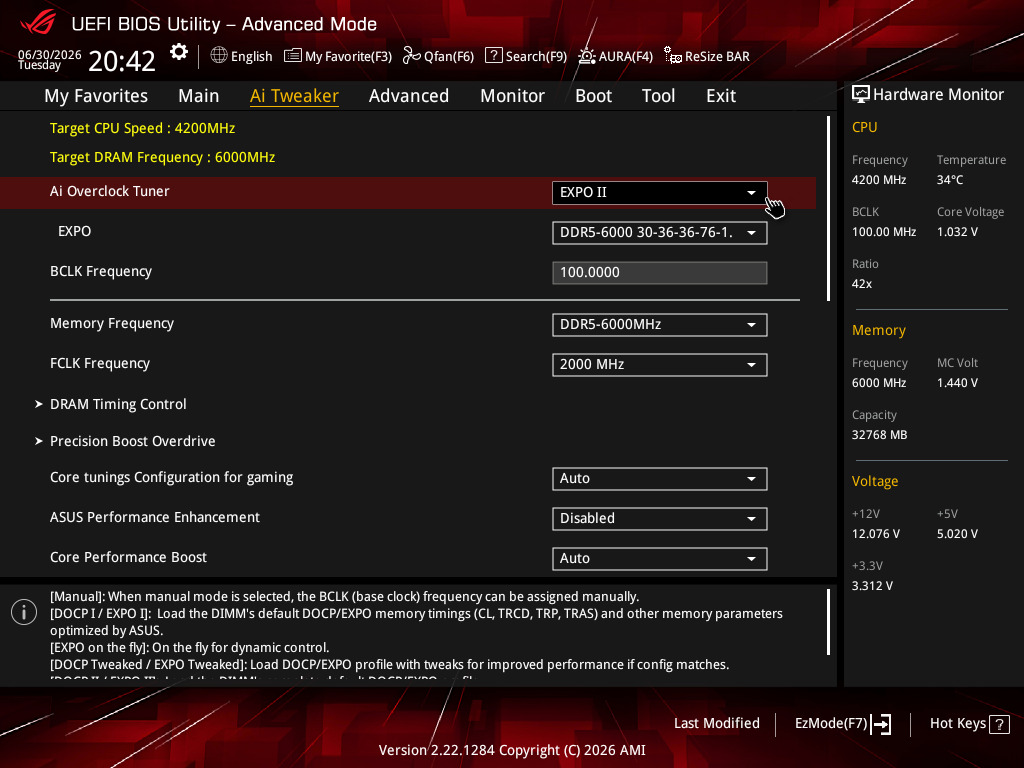
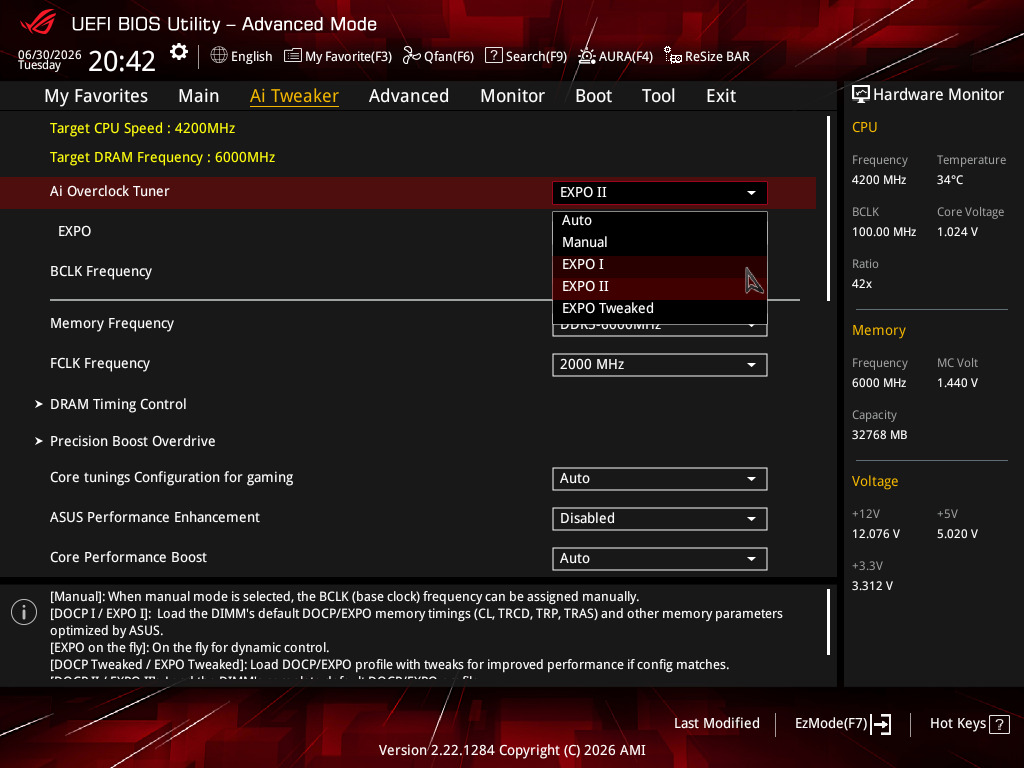
Step 3: Select Your Preferred Memory Profile
Click the profile drop-down box (in our case, it is labeled Ai Overclock Tuner). Then, select one of the profiles. We recommend just selecting Profile 1 first, this is the stock RAM overclock with no extra performance tweaks added, which ensures you encounter no crashes or stability issues. However, feel free to try other profiles later; those mildly tweaked profiles usually work fine and provide slight improvements to memory performance.
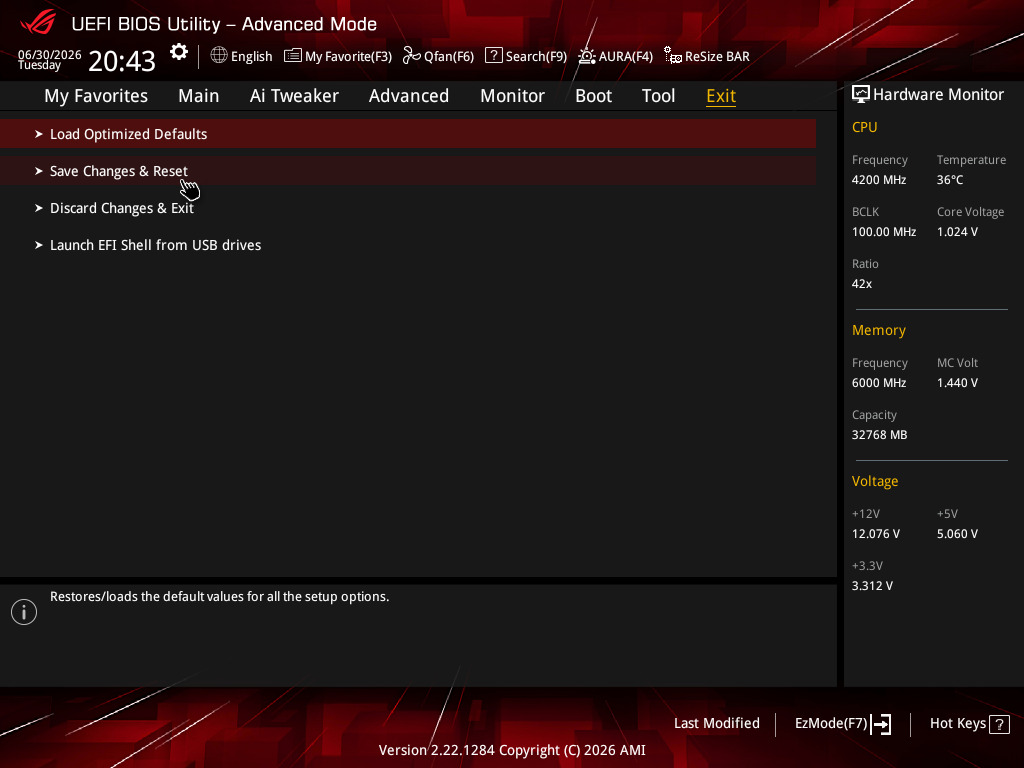
Step 4: Save Changes and Exit to Complete the Setup
Navigate to the Exit tab and click Save and Exit. Your RAM EXPO or XMP configuration is now enabled and saved. Fire up your PC and start enjoying your games with more performance!
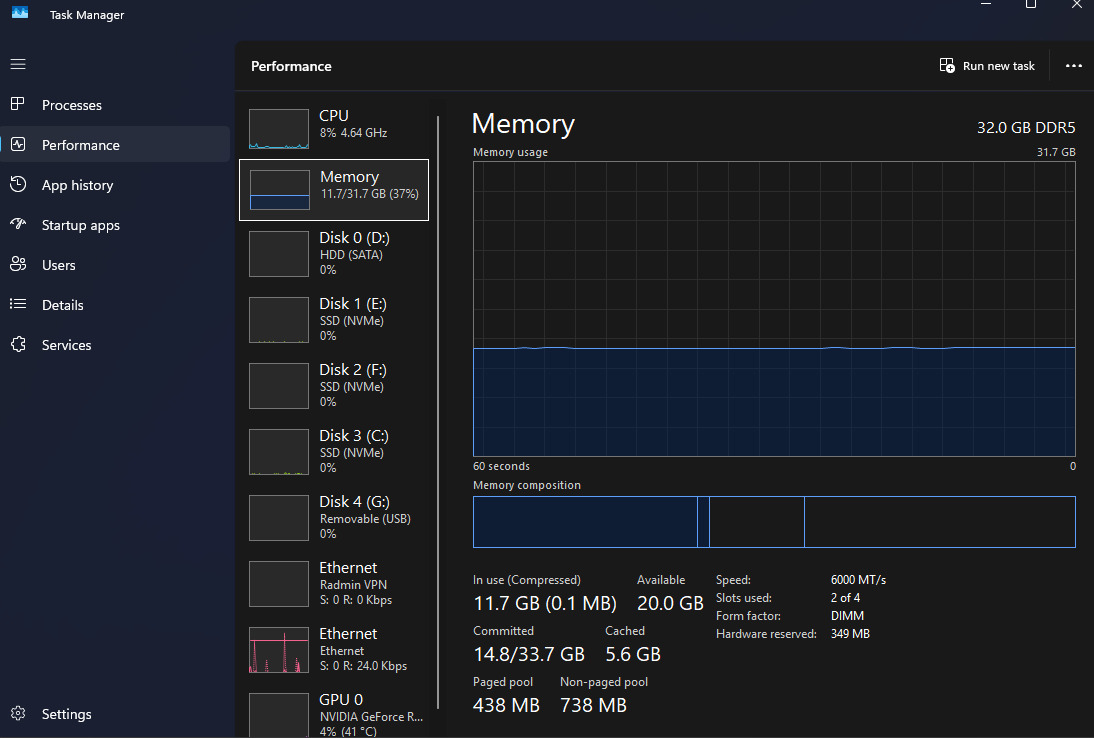
How to Verify Your RAM is Running at Full Speed in Windows
Once you are back in Windows, all you simply have to do is either search for Task Manager or right-click the taskbar, and click to open it. Then, navigate to the Performance tab on the left and click on Memory. You should now see a section with detailed specs and RAM usage on the right. Specifically, look for Speed, which should now match your advertised memory speed, in our case, 6000 MT/s.